Aliens: A Definitive Guide
Arrow Media, Discovery - 2013

Scientists know aliens exist. And it’s only a matter of time until we find them…or they find us. Aliens: the Definitive Guide showcases the extraordinary scientists that are currently grappling with questions like: 'Where do aliens call home?', 'Do aliens use warp drive?' and 'Will they be friend or foe?'
It’s an all-encompassing guide to everything you need to know about aliens, what to expect and how to prepare for when you meet one.
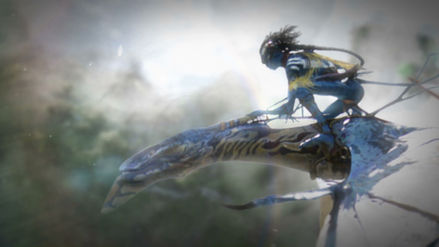
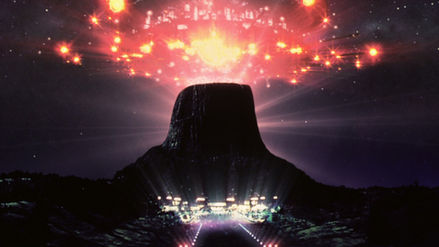
This was my first ever project under Nectar Studio, working with the director Mike Davis and the then newly formed Arrow Media. The project involved taking cleared stills from recognisable depictions of aliens within modern culture, from War of the Worlds to Avatar and then bringing them to life. I had been doing a lot of these 2.5D types of graphics, ever since ‘The kid stays in the picture’ was released in 2002. It provided a really interesting and relatively cheap way of using still archives in documentaries and adding a more filmic aspect to the usual ‘Ken Burns’ and rostrum effects that were in use. We had christened this method as a “tableau vivant” but it’s more commonly referred to as 2.5D parallax archive or a cinemagraph nowadays, but this doesn’t really do justice as it often involves lots of other animation tricks and styles to help sell the shot. Using different lens fx, textures, lighting FX, gobo lighting, as well as introducing subtle movement to draw the eye to the subject.
The process was fairly straightforward with the image first brought into Photoshop to begin the cutting up of the layers involved. You need to have a bit of foresight into what you want to achieve with the animation and where there needs to be a rebuilding of the image that might be obscured or cut out. This can be as simple or complicated as you want, but I always know I can retouch the image layers or add more as I go along or miss certain areas. I often want to have 3 or 4 different layers along the Z-space to help sell the parallax, but it’s not always possible and is totally reliant on the image being shot to accommodate this. Images taken at ¾ angles are very tricky and sometimes need to be brought into 3D to make work, but in most cases you can get away with flat plane layers in Z-space within
After Effects.
Next I will bring in the layered PSD file and begin by building out a camera and loosely positioning the layers until I'm happy with the composition. Next I'll finetune this with my movements and wants need to be covered in any commentary and the length of the shot. I’ll then have a look at any fixes to the layers and begin to composite them together so they appear more in a 3D space, subtly tweaking masks, edge effects and colouring to achieve this. By adding in stock elements and other animation fx, i’ll try and build an atmosphere within the layers and any styling too, that would be with keeping with the period of the image used, whether this is film stock effects, lighting, degradations and stock to try and build in a bit of character, rather than it just being a cut out photo or illustration. It needs to feel what it would look like as if you were framing the shot ready through a viewfinder for best effect. I’m always aware that the images I'm using are really well crafted in the first place and tell their own story, but sometimes you can have fun with them and really push the animation like I did with this project.
The main goal is really to bring the still image to life while still being faithful and respectful to the original image and not revealing the magic trick as it were, by pushing any camera too much and allowing the layered images to slide.


